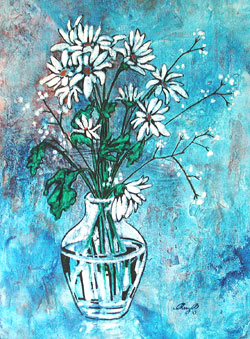
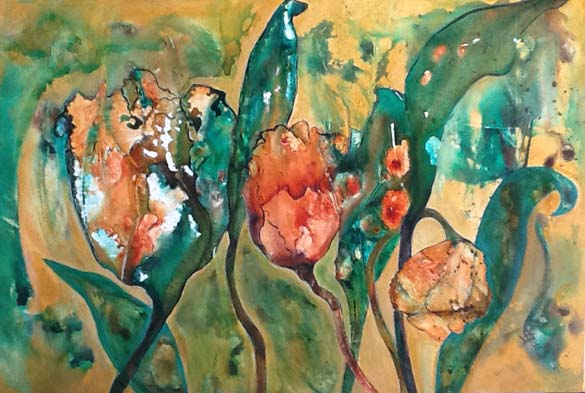
Tulips by Shelley Mercer

Begun in the Wet & Wild Course

So many dynamic techniques are covered during the Wet & Wild Week that most of us go home at the end of the week with a number of paintings on the go. Today’s featured painting by art student Shelley Mercer is one such painting. Shelley began with a wet flow of colour and after the first layer had dried, she saw the hint of flower shapes. Many adjustment layers later, the painting was really shaping up in class, but not quite done. When Shelley sent me the photo of the completed painting, I just loved it, and I thought that you would enjoy seeing it too. Don’t you agree – it’s lovely! “Tulips” by Shelley Mercer. 
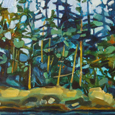
Tree Painting

Why Paint Outside?

It’s called “En Plein Air” and it means “in the open air” referring to taking your paints and canvases out there and painting. It became very popular in the late 1800’s. This was the time of the impressionists, and Monet was a pioneer and advocate of this practice. What are the advantages? Among those who really love this practice, there is the love of the elements: wind, sun, and good old fresh air, and the feeling that experiencing them first hand while painting the landscape in front of them helps to give a truer interpretation of the scene. Plein air enthusiasts also are up for challenges – the primary one being the fact that the light changes as time passes. There is some urgency in getting the brush strokes down to capture an elusive moment in time. That can be a good thing – it helps avoid fussing over details. Most of all, it’s fun. With a comfortable lawn chair along, what’s not to love about setting up in the garden or on the beach, enjoying the day and trying to match some colour to what you see? And not to worry if you don’t have a standing easel. If you work smaller, many painters are content to have their watercolour paper or canvas in their lap. For those of you who love to do this, and for those who may never have tried it but would like to, I am offering a 1 week Painting on Location class from August 12 to 16. We will choose from a number of different beautiful locations in and around London. The classroom at Hillside Church will be available for any inclement weather days. Here’s the link to all the information: Cheryl O’s Art Courses.  Would you like to join us? 
Red Pepper painting

Easels

When it comes to easels, there are lots of choices. In class, some students like a table top easel. The angle can help prevent light from glaring off the painting, but it is very optional. It’s almost as convenient to just put a paper towel roll under the top of the painting to give it a tilt. In my studio, I have a wooden standing easel, plus several styles of table top easels. Here’s a link to the most comprehensive article I have seen about easel types: Different Types of Painting Easels for Artists – by Artpromotivate. 
BouqBlue250

Paint Quality

I like to get a bargain when I can, but some things are just not worth saving the pennies over. Quality of paint is one. I strongly recommend that even beginners buy artist quality paint. Student quality paint can fade or change in a matter of weeks or months. For example, purples can turn brown. You don’t want that sort of thing happening in your work. Plus, the mixture that the manufacturer uses in student quality paint can vary from time to time depending which pigments are cheapest. This can be very frustrating to the artist because it means that the paint may behave differently from tube to tube. You want to be able to get to know each pigment – how it interacts with other pigments or with water or mediums. Any variables in quality will simply slow down the learning curve as you try to understand your paints behaviour. Lastly, you need to know that student quality paints are not always marked with the word “student”. In Winsor & Newton, student grade is called “Cottman”. In Liquitex brand, student grade is called “Basics”. If you are not sure when looking at a tube or jar in the art store, check with the staff that you are buying artist quality. You won’t be sorry. Happy painting! 
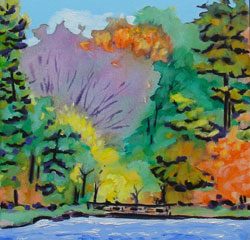
Painting - River Bank

The Best Composition Tip – Ever

The longer that I have been painting, the more I appreciate that good composition frequently comes down to one thing. It is – avoid 50/50 in every aspect. Landscape painters should avoid a horizon that is at all close to dividing the painting surface in half. Make it higher or lower. In addition, in any type of painting, it’s a good idea to avoid a half and half division between the amount of dark or light colour. Best to have the majority of the page dark with light accents or vise versa. The same can be said of warm versus cool colour, or textured versus smooth area, or hard versus soft edges. If in any aspect of composition you have to think hard about what is dominant and what an accent, then likely it is too close to 50/50 to be pleasing to the eye. Hope this is helpful, next time you are analysing your work. 
Cez200

Through the Eyes of a Friend

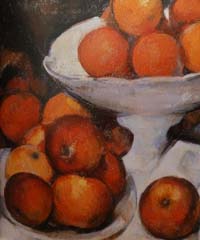
There is something lovely about a shared pleasure. Life’s joys are often more full when experienced with a friend. Although I have wonderful friends who partake in various parts of my life, today I want to talk about art gallery friends. Art gallery friends understand that the pace that you travel through an art exhibit is completely unpredictable. They know that if the art is good, at some point likely one masterpiece will reach out, grab a piece of your heart, and leave you standing there absorbing in silence for awhile. They walk on, saying, “I’ll be in the next room”, and leave you in peace – and you do the same for them. Then at other times while looking at a painting together, they are willing to state completely honestly which paintings speak to them and which don’t. We have fun exploring why. And suddenly, standing in front of a piece of art, you are seeing it through someone else’s eyes! So thank you to my art gallery friends – you know who you are. Thanks for your patience and for sharing the joy. You make my life richer. (Painting by Cezanne.) 

Creative Confidence

Today is the last day of our Wet & Wild Week – and yes, it has been. I have to applaud each student who participated for your willingness to try new things, your wonderful sense of adventure. Each day was a smorgasbord of creative ideas. We really got into layering different effects, textures, and colours – too much fun! In the end, more than specific techniques which of course I hope are helpful, I am really hoping that each one will go away with a greater creative confidence and even more freedom to explore. I plan to post some photos next week – stay tuned. It seemed appropriate to post this lovely 11 minute video: “David Kelley: How to Build Your Creative Confidence”. Enjoy!