ScreenTree250

Painting from Photos

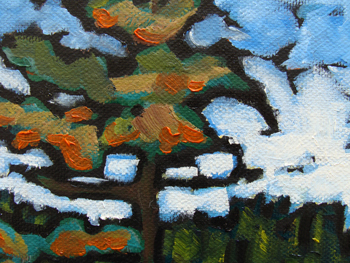
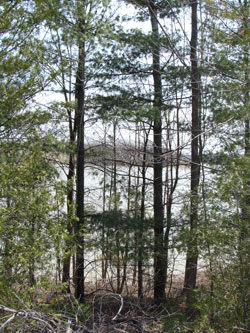
Below is the reference photo that I used to make this quick watercolour painting done as a demonstration in one of the classes last week. I thought you might enjoy a little mini art lesson. Here are the main points that were covered: The background was done first, the trees last. 1. Skies often gradate from darker blue at the top, to lighter at the horizon. Even if your reference doesn’t show this, putting it in adds depth. /  2. Cloud shapes should be larger at the top of the page and get smaller toward the horizon. / 3. The colours in the original were very dull – why not make those distant hills autumn instead? / 4. Using dark silhouetted foreground trees, give a lovely glow of light to the background. This effect is called a ‘screen’ and was made popular in the Art Deco time period – early 1900’s. The Group of Seven sometimes used this effect in their work. / 5. Making up some shadows under the trees sets them nicely into the ground. /  6. Simplify the number of branches – only enough to indicate the brush. /  7. Near the end, I was going to do the green shapes on the branches. At the last minute decided it would be more fun to echo the orange/brown of the distant hills in the leaves. And since I liked how the background had turned out, might as well leave more of it showing. /  And the most important point of all? 8. A photo reference is simply a launching off point. Give yourself permission to change anything – colours, shapes – whatever your heart desires to make a more dynamic painting. 

Pensive250

Handling Watercolour

Today’s tip is for watercolour painters. When painting, just put out enough watercolour paint to do you for that session. Do not put out your complete tube of paint into the wells of your palette. Once that paint dries it never gets as rich and creamy again when you rewet it. Practically speaking, this makes it difficult for you to make rich strong darks in your painting. Now, I know that some teachers tell students to put the whole tube out, so this is not to make you feel guilty if you have done this. I suggest that you use that paint up, and if you need an area of dark colour, put out a bit from a fresh tube for that. Fresh paint just out of the tube also gives a richer flow into a wet area too – it’s more fun and more effective. If you still end up with left over paint on your palette when putting out the smaller amounts, spray them with water and cover with plastic wrap to keep them creamy for a few days. Happy painting! 
FruitBowl432

Oils Drying

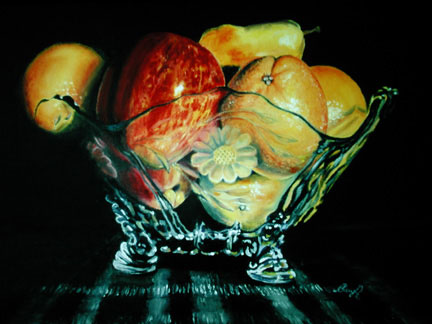
Did you know that oils do not dry by evaporation, but by light curing? This means that if you leave an oil painting in a dark room, it will stay wet for a long long time. This can be used to your advantage if you get interrupted while painting and want it to stay workable longer. It’s not a good idea to delay the drying for too long though. A few days is fine, but longer than that and the paint might have a tendency to yellow. However, if you are in a hurry to dry an oil painting, putting it under bright light both day and night really helps speed things up. But using a hot hair dryer to try to speed up oil paint drying is a completely useless exercise. 
GrapeExp150

Crystal

Painting crystal is something that tends to impress a viewer – and intimidate a new painter. So here’s a secret – it’s not as hard as you think. When you have transparent glass in front of you, there are really just one of two main things that you are seeing – either the light making a sparkle or shine on the glass, or whatever is behind the glass that you see through it. Once you think of glass that way, it’s much simpler. So if you are interested in the upcoming Fruit Flower and Crystal class but feeling shy to join, I would like to encourage you to give it a try. It’s actually a lot of fun! Each class will feature several different collaborative set ups which means lots of variety and still lifes that will please any level of painter, those with experience as well as those newer into art. And flower lovers – this is the class for you too! Check out the details and register here: Local Art Classes with Cheryl O (scroll down when on the page.) 
UnlPr350

Art Made Thoughtfully

Yesterday’s blog post talked about life being lived thoughtfully. Today I will take those same points, and apply them to making art. /  1. Think about your strengths. What aspects of art do you do particularly well? Set aside time to practice and concentrate on your strengths so that they really shine. /  2. Think about your weaknesses. Trying to improve in these areas is a good plan, but also be aware that you can likely create art that minimizes the impact of your weaknesses. For example: if line work is not your strength, concentrate on making paintings that are filled with dynamic shapes and colours. /  3. Think about art that you really admire. Identify as precisely as you can what aspects of that art you love, and then apply this learning to your own work. We all stand on the shoulders of the great creative minds that have gone before us. /  4. Expose yourself to a variety of art. This can happen at galleries, art clubs, in books, online, or in art class. Learn to appreciate diverse approaches to art that are different than your own. /  5. Put in your alone time. Nothing can replace the time you put in practicing your art. In the case of painters, that would mean time alone painting. It makes no difference if you are working in a fancy studio or on a card table in the corner of your bedroom – practice lots. You need to create a lot of art to have a hope of creating some truly great art eventually. Even the greats were beginners once. /  I hope that this list will encourage you on your artistic journey. Your comments are welcome. What would you add  to this list that I have missed? 
ColofLt250

The Colours of Light

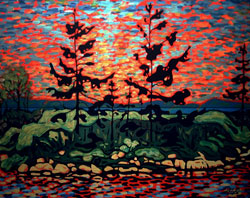
This is an older painting of mine that was painted “under the influence” of Group of Seven work. That simply means I had been studying their colours and techniques. It bothers me that the horizon is splitting the canvas almost 50/50 – that’s a no no! However, I do like the the glowing sky and the tree shapes. Maybe I’ll re- invent this painting in class in October. Your comments are welcome. 
Solitude350

Solitude

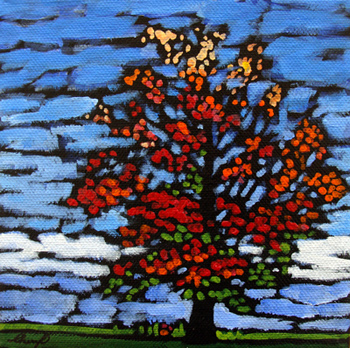
This painting, titled “Solitude”, is an example of one of my own paintings that was influenced in style by first working through a number of Group of Seven paintings. The almost brick like effect in the sky can be seen sometimes in Group of Seven paintings, especially Tom Thomson’s work. I’m looking forward to working through more Group of Seven paintings in the October class! If you haven’t yet registered and are interested, the full info is found here… “Local Art Courses with Cheryl O“ 
Barn3T

Stand Back!

Sometimes we painters get so absorbed in our painting that we forget that it can look very different from a distance. Stand back – often! Ten or fifteen feet between you and your painting, and a critical eye, can save you from many compositional and colour disasters.  
WildFlow300

Learning Curve

With lots of registrations coming in already for classes that start in October, I have been pondering the happy atmosphere of classes again. I’m convinced that it’s partly the creative spirit of students interested in art that fosters such an atmosphere,  but there are other things that help too. One is understanding learning curve. We would all like to have the kind of learning curve that looks like a straight line sloping upward. Fact is, I don’t know anyone who learns that way. With most of us it’s 4 steps forward and 2 steps back. For myself, I do a lot of flat lining. Those are times when I feel like nothing is happening. But I know from experience that if I persevere, the line will eventually slope upward again and I will get where I am aiming – with practice. People also learn at different speeds as well. I say, if you are having fun learning, it really doesn’t matter at all how quickly or slowly you learn. Being conscious of these few aspects of learning can help make it a happier experience for you. Hope to see you in class! 
Pine2T

In Praise of Studios

“Too many artists get seduced by sunlight and have to continually adjust for light variations. The lighting conditions in [my studio] are perfect. It never changes from day to night. I always know the colour on the canvas is what I want it to be.”  – Jack Cassinetto – How about you – studio or plein air painter? Some of both?